Self-Hosted Guide
This page is only relevant to you if you need to test self-hosted features. It is not required for most development work. If you just need a local server, go to the Server Setup Guide instead.
This page explains how to configure and run a self-hosted development server alongside a cloud development server. This is useful if:
- you need to test how a self-hosted instance communicates with the cloud
- you need to develop self-hosted features without upsetting your normal development environment
In the most common configuration, both the cloud and self-hosted development servers will be running with the same infrastructure configuration:
- Services running on
http://localhost:{port}(using different port numbers for cloud vs. self-hosted) - Local SQL database (using a different database name for cloud vs. self-hosted)
Requirements
This guide assumes you have completed and are familiar with the techniques in Server Setup Guide. Please make sure you have a working development environment for a cloud-configured server before worrying about getting a self-hosted instance connected to it.
Setup
Clone the server repo into a new folder, called server-selfhost:
git clone git@github.com:bitwarden/server.git server-selfhost
Next, we’ll work on getting a self-hosted server running concurrently with a local cloud-configured server.
Generate Installation Id and Key
Every self-hosted instance is defined by an Installation Id and Key. These will be stored two places:
- As user secrets in your self-hosted instance, and
- In the
Installationstable of your cloud-configured instance, so that it can authenticate requests from your self-hosted server
To get an Id and Key, it’s fine to either
- request a host installation ID, or
- generate a Guid (Id) and random alphanumeric string (key)
Record these for use in the next steps.
Copy Files from Cloud Instance
There are two files that you will need to copy from your cloud-configured repo, which you should
have already set up. These will be copied into your self-hosted repo. They are both in the dev
folder. We copy these over to save time and effort; there is no need to go through the work to
re-generate them when they will have nearly all the same values. Once copied to the self-hosted
repo, we'll modify them in further steps below.
secrets.json File
Copy the secrets.json file into the dev folder of the self-hosted repository that you just
cloned.
The .gitignore configuration will prevent the secrets.json in the dev folder from being
checked in to source control. Under no circumstances should the secrets.json be pushed to origin.
.env File
Copy the .env file into the dev folder of the self-hosted repository that you just cloned.
Self-Hosted Secrets Configuration
In your self-hosted repo, navigate to the dev folder and open the secrets.json file that you
copied over.
We must configure the Dev:SelfHostOverride:GlobalSettings section of the user secrets. This
section specifies setting overrides for local self-hosted development instances. Anything in the
override section will apply instead of the value given in GlobalSettings.
If you’re struggling to remember about user secrets, review User Secrets.
We need to do this here because we need to be able to define setting values that true self-hosted instances are specifying in environment variables in their Docker containers. We are using the secrets file do this instead of setting environment variables on our machine and letting the build in .NET Core configuration build our settings for us.
Currently, we only override GlobalSettings. Any other user secret that needs overriding will
require a code change to do so. Check out ServiceCollectionExtension.AddGlobalSettingsServices in
the server repository to see how we’re doing it today
(fragile link to the code).
The internal user secrets contains a minimum override example. You will need
to update the following values in the Dev:SelfHostOverride:GlobalSettings section:
- Installation Id and Key, using the values you just generated
- A SQL Server password for a new SQL database we will be creating below. It can be copied from the
cloud-configured settings already in your
secrets.json(i.e. use the same password as your cloud-configured server) or a new one can be generated. - any other blank values
After the updates to your secrets.json file in your self-hosted repo, apply your changes by
running the following command:
pwsh setup_secrets.ps1 -clear
You have now updated the user secrets for your self-hosted instance.
Database Configuration
Be sure that your Docker container is running before setting up the database.
Navigate to the self-hosted server repository. We will create a second database for our self-hosted configuration, so that the cloud-configured instance can have an independent data set for development.
If you followed Server Setup Guide when creating your
cloud-configured database, you just need to run the same PowerShell migration script with an
argument of -selfhost:
pwsh migrate.ps1 -selfhost
This will create a new database called vault_dev_self_host and/or run unknown migrations against
it.
To keep your self-hosted database up to date, calling the script with the -selfhost argument in
the future will execute new migrations against vault_dev_self_host.
Define Installation Id and Key for Your Cloud Database
You need to manually add the Installation key to your cloud-configured instance, so that it knows about your self-hosted instance and will allow access when API calls need to be made between the two. Feel free to do this with any tool you like, Azure Data Studio, sqlcmd, or the below script
/opt/mssql-tools/bin/sqlcmd -S mssql -d vault_dev -U sa -P <<SA_PASSWORD>> -I -i <<SCRIPT_FILE>>
where <<SA_PASSWORD>> is your SQL SA password for your cloud database and <<SCRIPT_FILE>>
points to a file containing:
INSERT INTO [vault_dev].[dbo].[Installation]
(
    [Id]
    ,[Email]
    ,[Key]
    ,[Enabled]
    ,[CreationDate]
)
VALUES
(
    '<<YOUR_ID>>'
    ,'<<YOUR_DEV_EMAIL>>'
    ,'<<YOUR_KEY>>'
    ,1
    ,GETUTCDATE()
)
where <<YOUR_ID>> is your installation id, <<YOUR_DEV_EMAIL>> is your email address, and
<<YOUR_KEY>> is your installation key.
Client Setup
The self-hosted server is of limited use if we don’t have a web portal to interact with the APIs. Again, it’s easiest to clone a new repository instance:
git clone git@github.com:bitwarden/clients.git clients-selfhost
Install the dependencies and initialize jslib:
cd clients-selfhost
npm ci
Running
Server
When running in a self-hosted configuration, services will by default be at +1 to the port number at which they run in a cloud-configured instance.
Above, we set up a series of user secret overrides that will allow us to run our self-hosted instance. We need to be sure we start up our server to use these settings. The server code will use these settings if the following two conditions are met:
- Environment is Development
developSelfHostedistrue
We do this differently based on how you will be running the server. In your environment, the
self-hosted launch configurations (e.g. "Api-SelfHost") will set the Environment and
developSelfHosted flag for you.
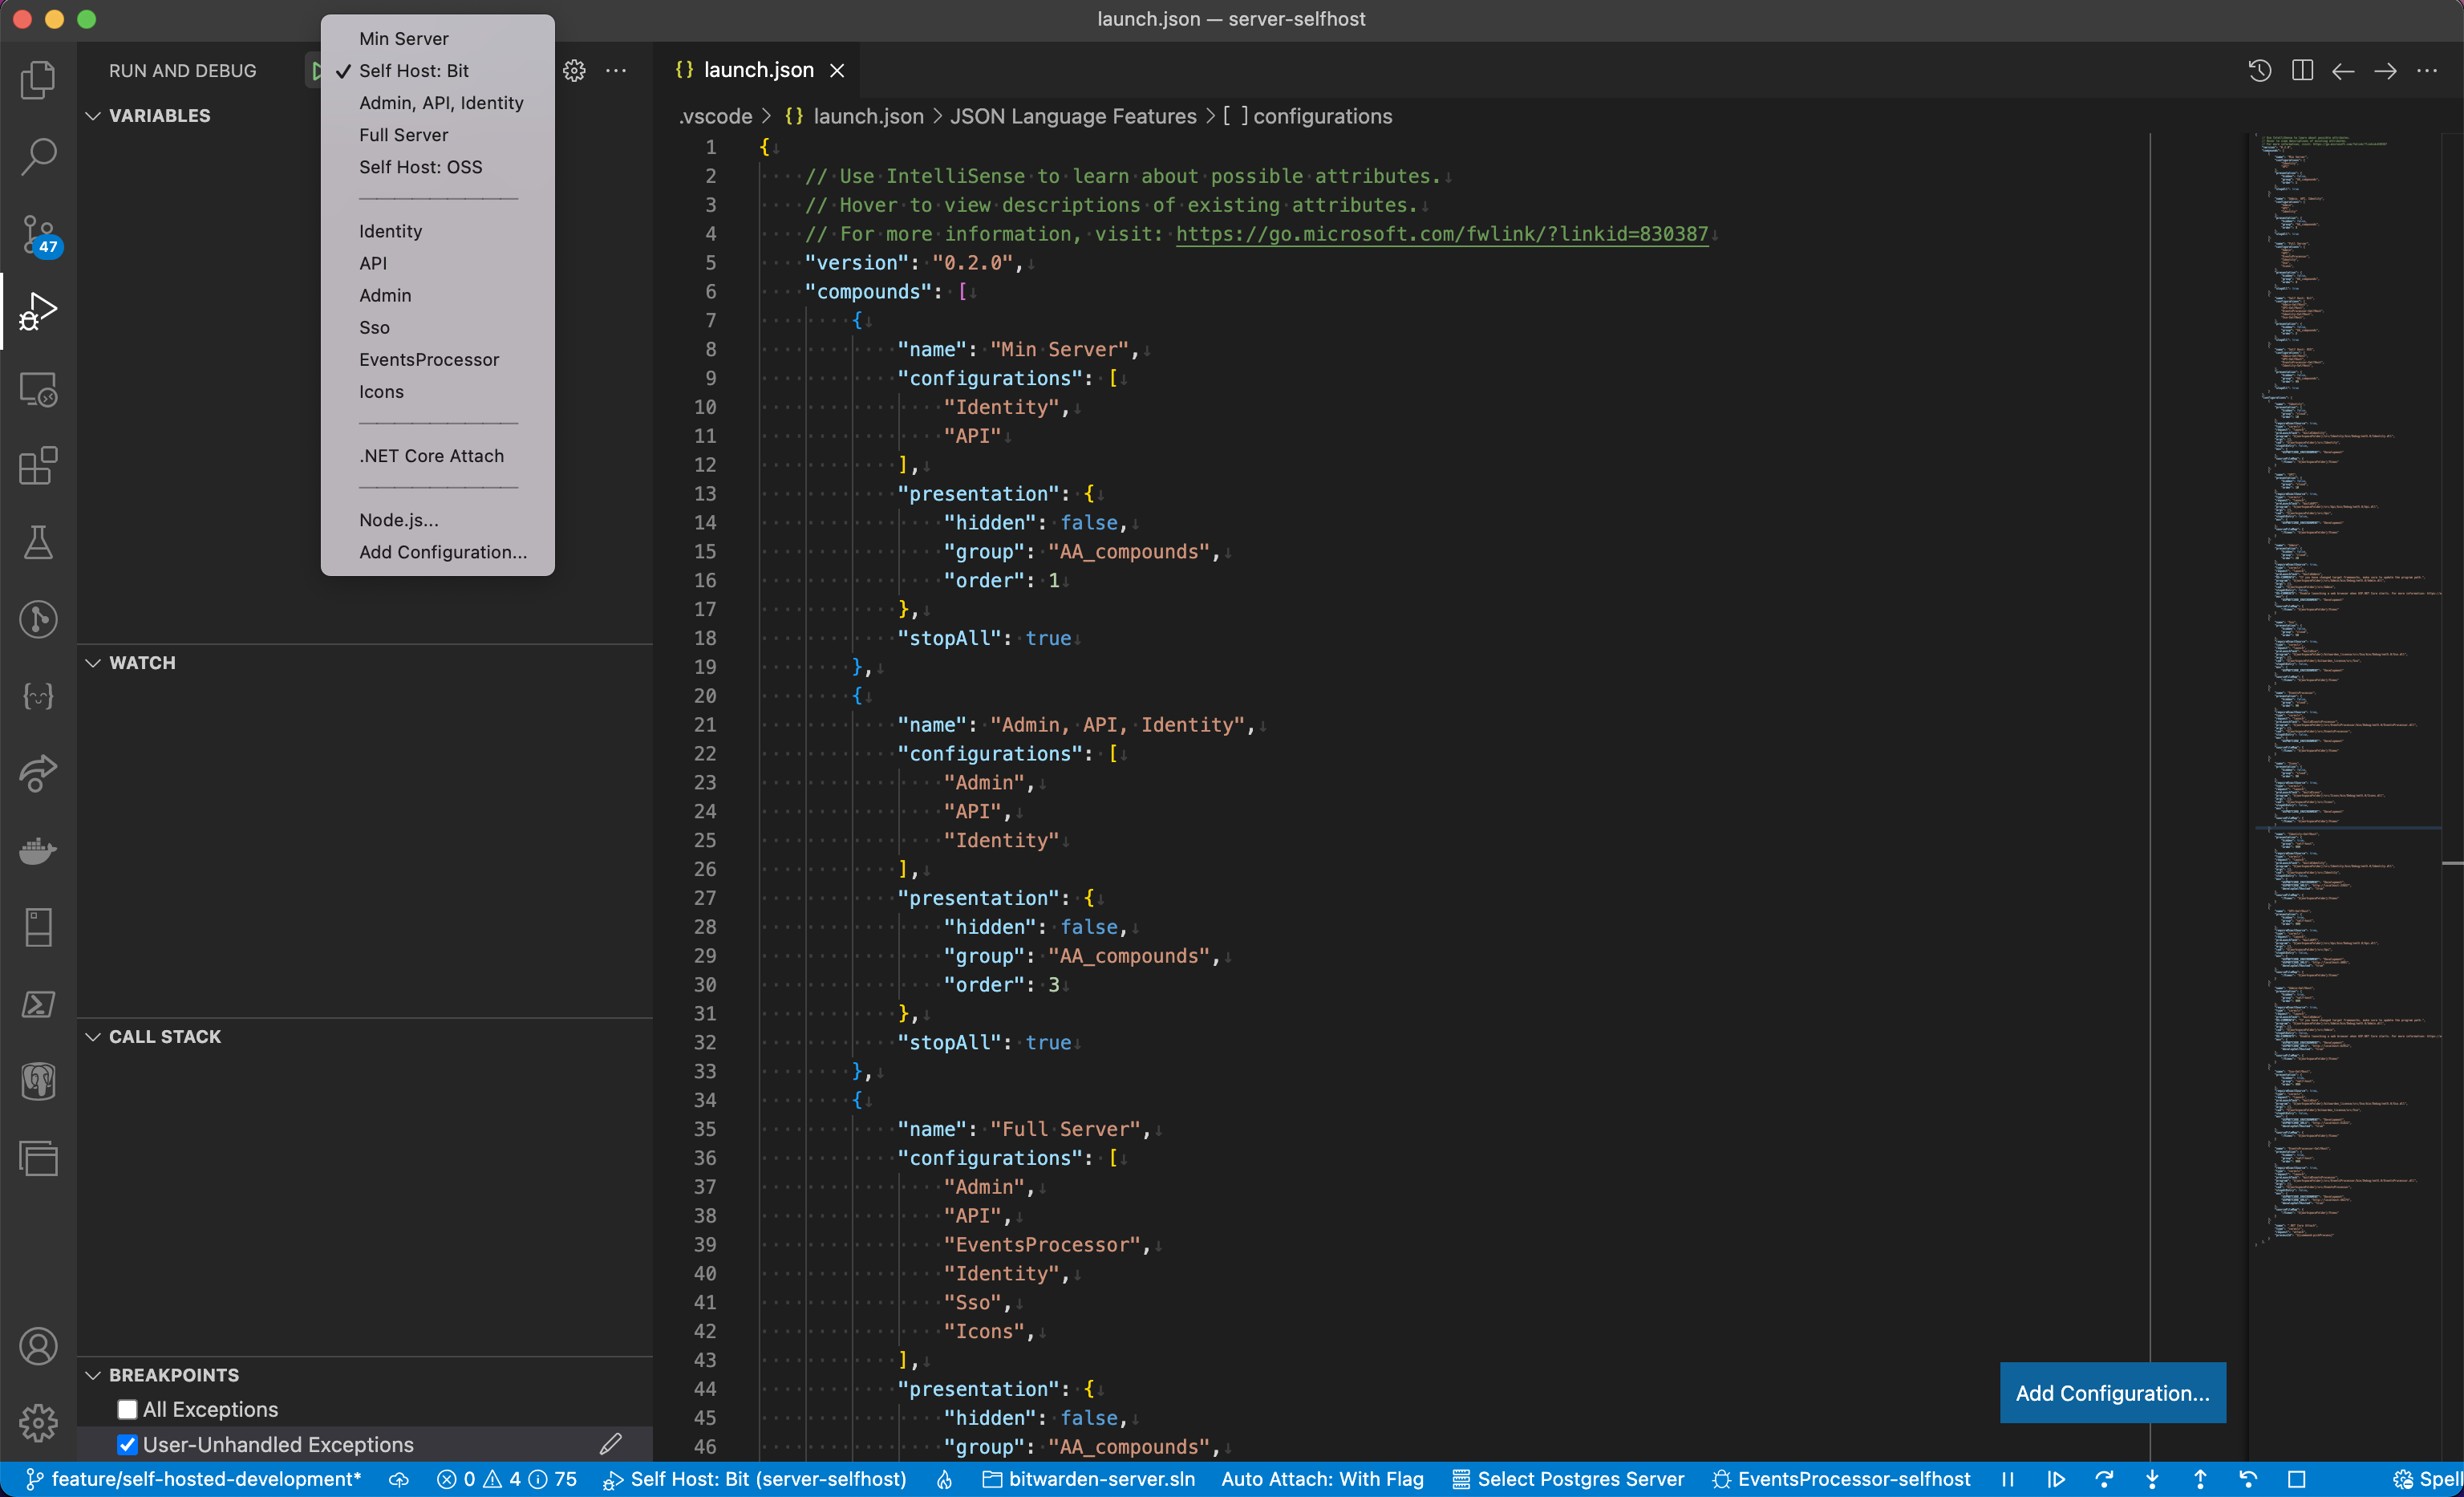
VS Code
We have a number of launch configurations as well as combined configurations to make launching the
services easy. By default, the individual self-host launches are hidden. Navigate to launch.json
to un-hide them.
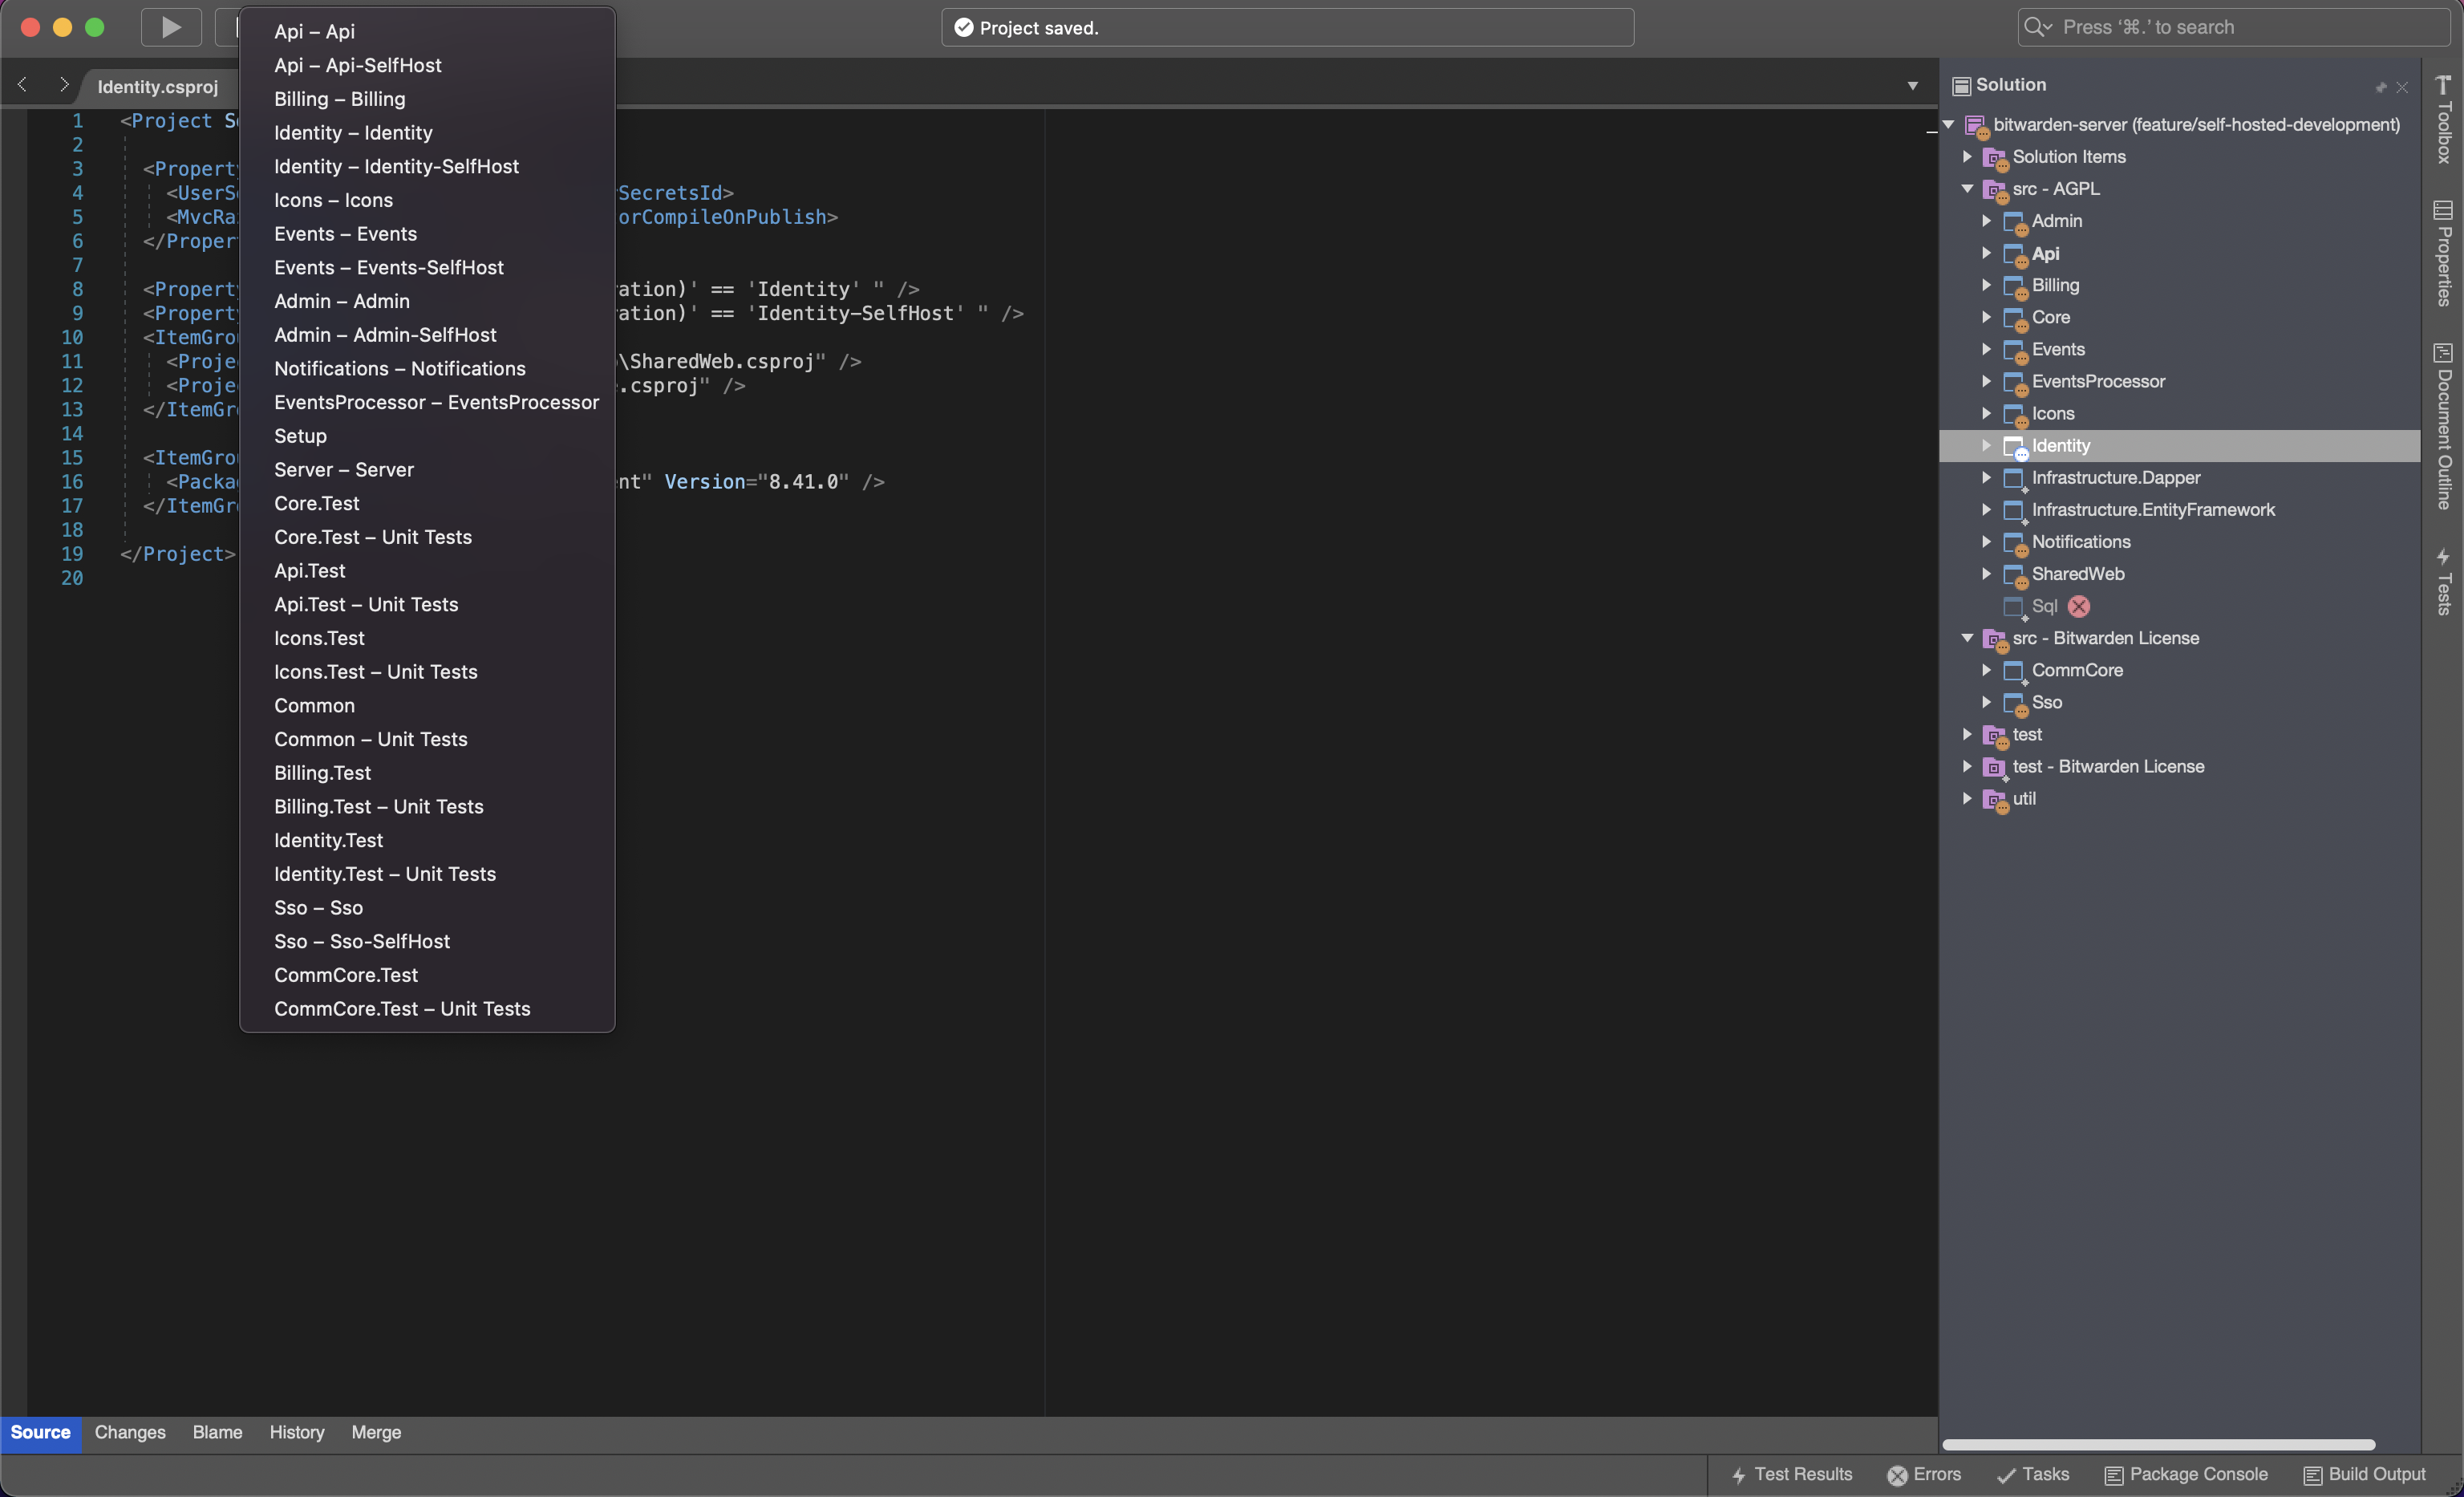
Visual Studio
Run configurations have been made to start a given service in a self-hosted mode.
CLI
To run self-hosted from the CLI, you will need to:
-
Open a new terminal window in the root of the self-hosted repository.
-
Restore the nuget packages required for the Identity service:
cd src/Identity
dotnet restore -
Start the Identity service:
dotnet run --launch-profile Identity-SelfHost -
Test that the Identity service is alive by navigating to http://localhost:33657/.well-known/openid-configuration
-
In another terminal window, restore the nuget packages required for the Api service:
cd src/Api
dotnet restore -
Start the Api Service:
dotnet run --launch-profile Api-SelfHost -
Test that the Api service is alive by navigating to http://localhost:4001/alive
If you cannot connect to the Api or Identity projects, check the terminal output to confirm the ports they are running on.
To start the other services, follow the same format, including --launch-profile with the
appropriate self-hosted launch configuration.
Web Client
From the clients-selfhost/apps/web directory, you can execute
npm run build:bit:selfhost:watchnpm run build:oss:selfhost:watch
to spin up a Bitwarden-licensed or OSS web server. The default port will be 8081, so you can run
both a cloud-configured and self-hosted-configured web client at once. It is also configured to
point at the default *-SelfHost ports for the various server projects.
How the configuration sausage is made
Our web configurations live in config/. Each has a sub-object called dev. For this, the config
object have had the dev object re-defined to dev: {cloud: {}, selfHosted: {}}. In our webpack
config file, we are updating proxy and port settings based on these value.
This of the dev object as containing both the configuration for cloud and selfHosted development
environments.
Licensed Features
If you need to develop against licensed features on your self-hosted instance, you will need to unlock them with a license file that is registered in your cloud-configured instance.
To do this, you should first start both your local cloud-configured and self-hosted web clients, as both environments will be necessary to acquire and apply the license.
You can now choose which type of license you would like to apply. The instructions vary for each, but the best resource is the Bitwarden Help Center documentation: