Android
Requirements
Before you start, you should have the recommended Tools and Libraries installed. You will also need to install:
- Visual Studio 2022
- .NET 7 (latest)
- Note: Even if you have an M1 Mac with ARM 64 architecture, you can install all x64 SDKs to run android
- Xamarin (Android)
- Android SDK 33
- You can use the SDK manager in Xamarin, Visual Studio, or Android Studio to install this
To make sure you have the Android SDK and Emulator installed:
-
Open Visual Studio
-
Click Tools > SDK Manager (under the Android subheading)
-
Click the Tools tab
-
Make sure the following items are installed:
- Android SDK tools (at least one version of the command-line tools)
- Android SDK Platform-Tools
- Android SDK Build Tools (at least one version)
- Android Emulator
-
Click Apply Changes if you've marked anything for installation
If you've missed anything, Visual Studio should prompt you anyway.
Android Development Setup
To set up a new virtual Android device for debugging:
- Click Tools > Device Manager (under the Android subheading)
- Click New Device
- Set up the device you want to emulate - you can just choose the Base Device and leave the default settings if you're unsure
- Visual Studio will then download the image for that device. The download progress is shown in the progress in the Android Device Manager dialog.
- Once this has completed, the emulated Android device will be available as a build target under Android > Debug > (name of device)
M1 Macs
- Install and open Android Studio
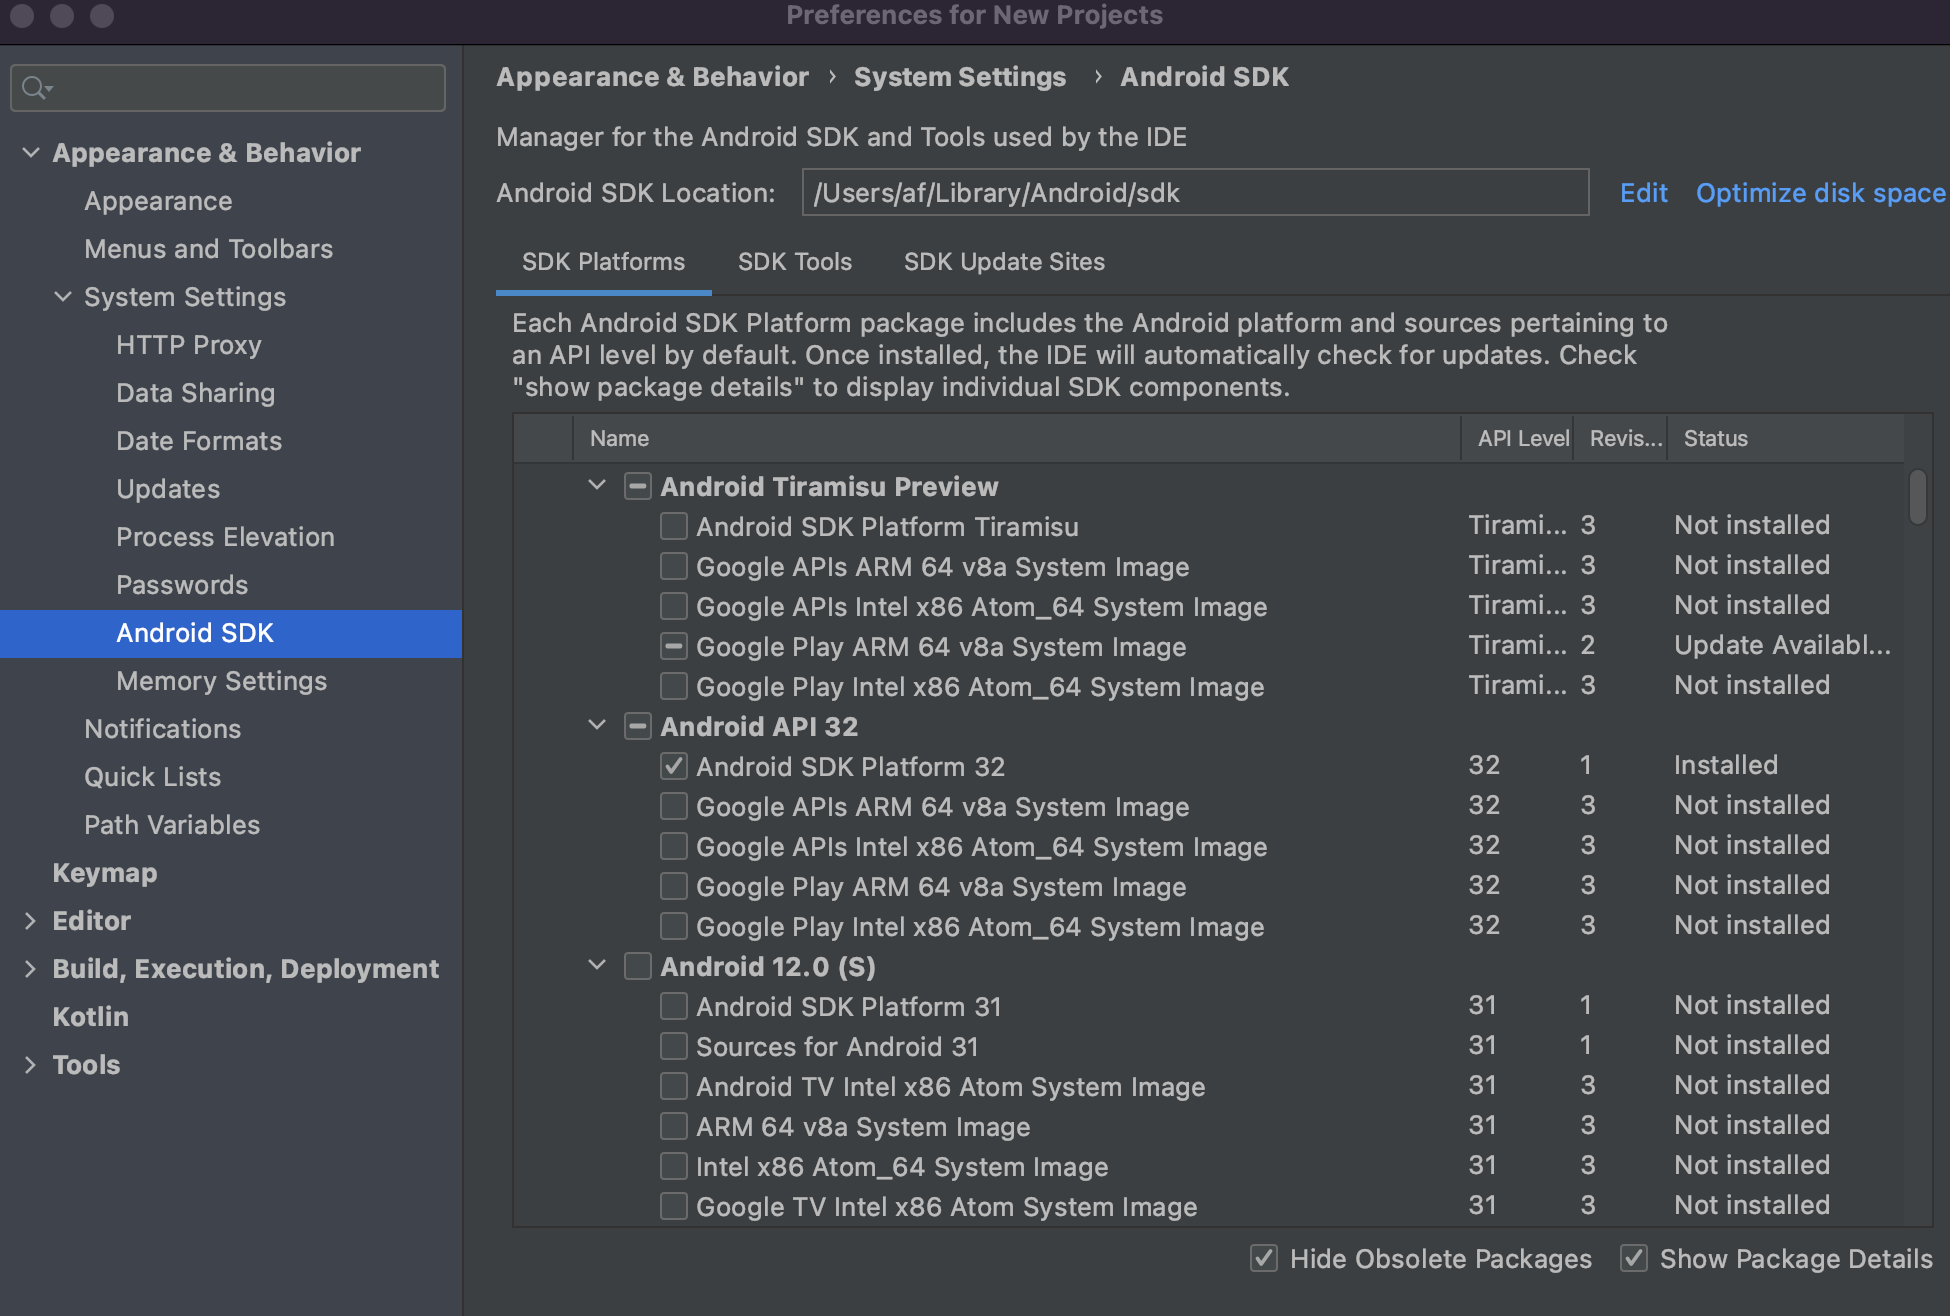
- In the top navbar, click on Android Studio > Settings > Appearance & Behavior (tab) > System Settings > Android SDK
- In the SDK Platforms tab, ensure the "Show Package Details" checkbox is checked (located in the bottom-right)
- Bellow each Android API you'll see several System Images, pick one of the
ARM 64 v8aand wait for it to download - Go to View > Tool Windows > Device Manager
- Inside Device Manager, create a device using the previously downloaded system image
Testing and Debugging
Using the Android Emulator
In order to access localhost:<port> resources in the Android Emulator when debugging using Xamarin
studio on your Mac natively, you'll need to configure the endpoint addresses using
<http://10.0.2.2:<port>> in order to access localhost, which maps the Android proxy by design.
Using Server Tunneling
Instead of configuring your device or emulator, you can instead use a proxy tunnel to your local server and have your app connect to it directly.
Push Notifications
The default configuration for the Android app is to register itself to the same environment as Bitwarden's QA Cloud. This means that if you try to debug the app using the production endpoints you won't be able to receive Live Sync updates or Passwordless login requests.
So, in order to receive notifications while debugging, you have two options:
- Use QA Cloud endpoints for the Api and Identity, or
- Use a local server setup where the Api is connected to QA Azure Notification Hub
Testing Passwordless Locally
Before you can start testing and debugging passwordless logins, make sure your local server setup is running correctly (server setup). You should also be able to deploy your Android app to your device or emulator.
Debugging and testing passwordless authentication is limited by push notifications.
Testing passwordless notifications:
- Start your local server (
Api,Identity,Notifications) - Make sure your mobile device can connect to your local server
- Start the web client, as you will need it to make login requests
- Deploy the Android app to your device or emulator
- After deployment, open the app, login to your QA account and activate passwordless login requests in settings
- Open the web vault using your preferred browser (ex: http://localhost:8080)
- Enter the email address of an account that has previously authenticated on that device (i.e. is a "known device") and click Continue. When presented with the login options, click click Login with Device.
- Check mobile device for the notification